This article is a “follow-along” tutorial covering how I paint the brickwork on my model buildings. It is based on techniques I learned from watching Bob Ross’ “The Joy of Painting” television series many years ago. I typically work in N scale, but this technique can be applied to any scale simply by using larger or smaller paint brushes.
Though I never actually saw Bob paint a brick building on his show, I’ve been able to adopt several of the techniques he demonstrated when he painted of all things, trees. It is loosely based on the dry-brushing technique that many modelers use in weathering their models, with the key difference being that you “dab” the paint downward onto the surface rather than drag the brush across it.
Step 1 - The Brush:
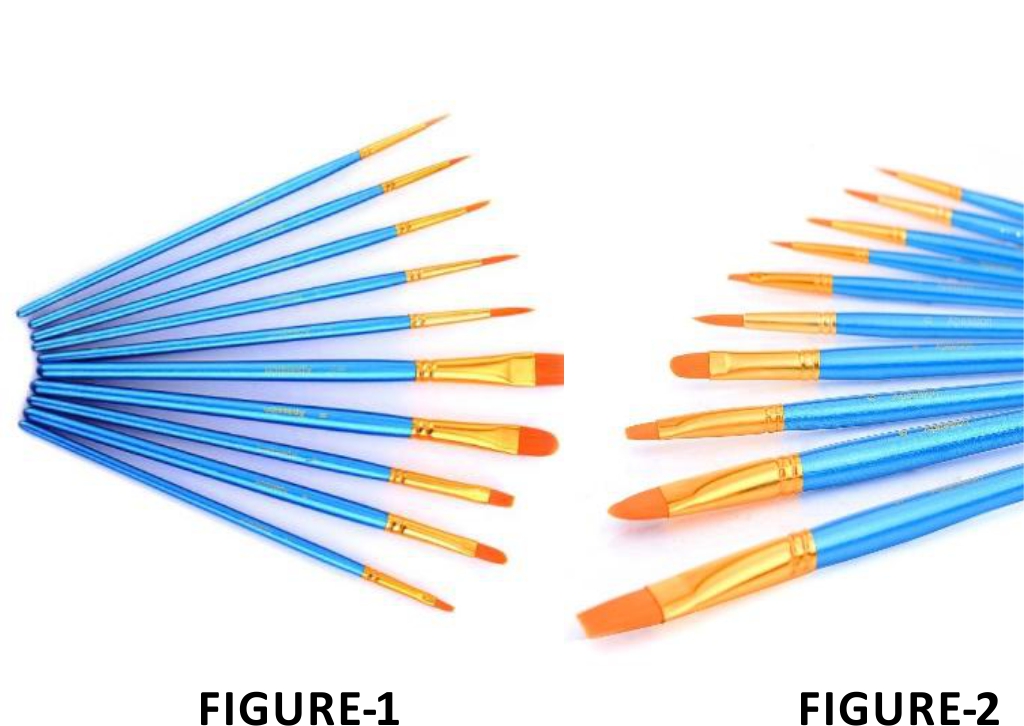
To paint the brickwork, I use the cheapest brushes that I can find at the local art supply store. Look for these brands; Loew-Cornell or Royal. The two types of brushes I use are called “shaders” and “wash”. The hair type I use is Taklon. The one in the middle of FIGURE-1 and the bottom one in FIGURE-2 are the ones I typically use for this kind of work. The smaller brushes in the set work well for painting the window trim. The medium sized brushes are good for painting things like large doors.
You will need to “roughen it up” a bit to make it look like the one I use in FIGURE-3 before you start painting, but it’s not hard to do.
 Here’s how I do it:
1) Get the brush thoroughly wet in tap water;
2) Press it facedown firmly onto a dry paper towel and rotate it in 1” circles until it’s mostly dry;
3) After a few minutes it should closely resemble the one shown in FIGURE-3;
4) Let the magic begin!!
Step 2 - Preparing the Building:
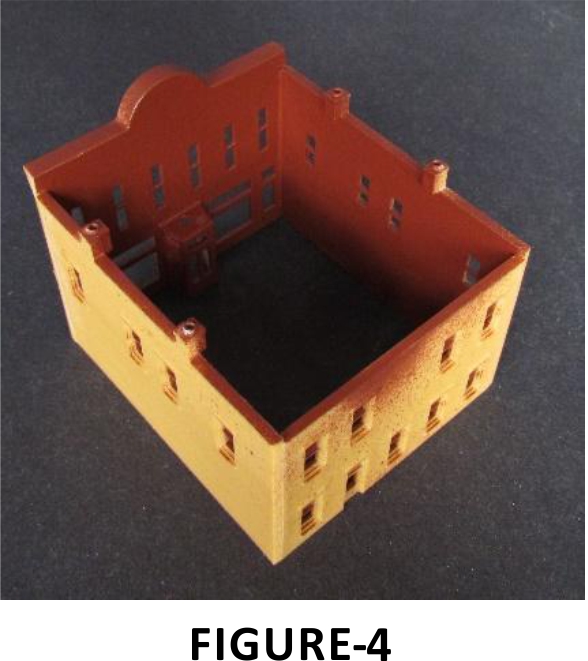
Since the models I build typically have interior lighting, and I don’t want the walls to “glow” in a dark environment, a dense, dark colored primer sprayed from an aerosol can is first applied to the interior walls as seen in FIGURE-4.
To establish the base color for the mortar between the bricks, a flat white primer, from an aerosol can, is then sprayed onto the outer walls. Depending on the “look” I’m going for, I sometimes use light gray or ivory white for this step as seen in FIGURE-5.

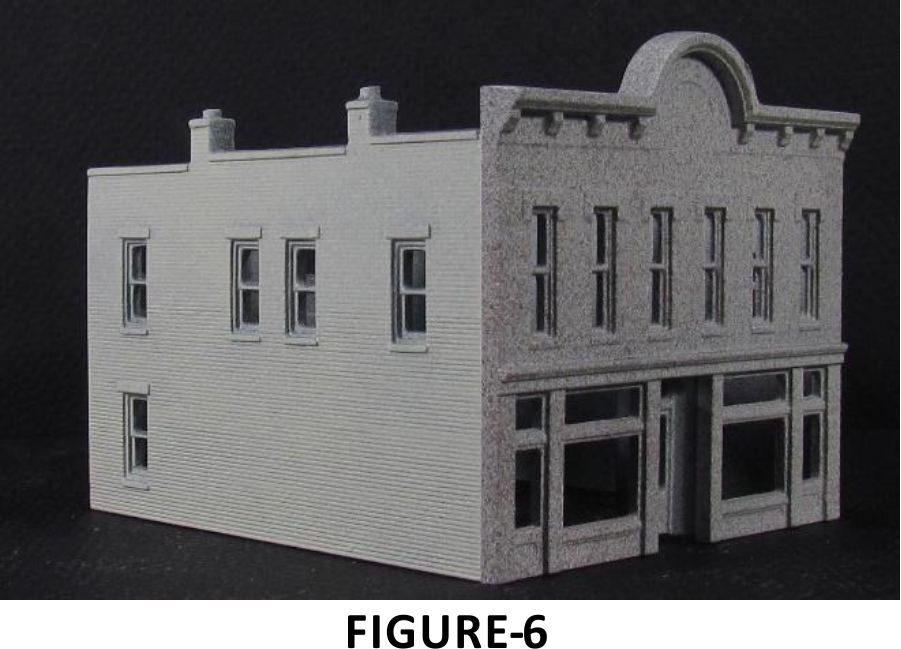
Since the front of this particular building is stone, the front wall is masked and painted with a misting from aerosol cans of flat black, flat gray and a touch of ivory white from about 18” away to give it the appearance of speckled stone as seen in FIGURE-6. The Crestone Credit Union building is one of the few DPM kits that I apply the speckled stone look to because it’s one of the only buildings that has a large stone front instead of the smaller brick like most of the DPM buildings.
Step 3 – Selecting the Brick Colors:
To help those that are following along, I’ve used specific colors from Vallejo Paint seen in FIGURE-7. These are available in many hobby shops and online at Showcase Miniatures. No matter if I’m painting traditional “red” brick or something more orange, brown or even gray, I typically use at least five different colors of paint to achieve the realistic look I’m going for – the two last colors often being white and black. Using multiple colors really helps achieve a more realistic appearance when done.

Step 4 – Learning How to “dab” the Paint:
As mentioned earlier, I use a “dabbing” technique to get the look of used or random brick patterns as seen in FIGURE-8 of the finished paint.

Similar to traditional dry brushing, you start by:
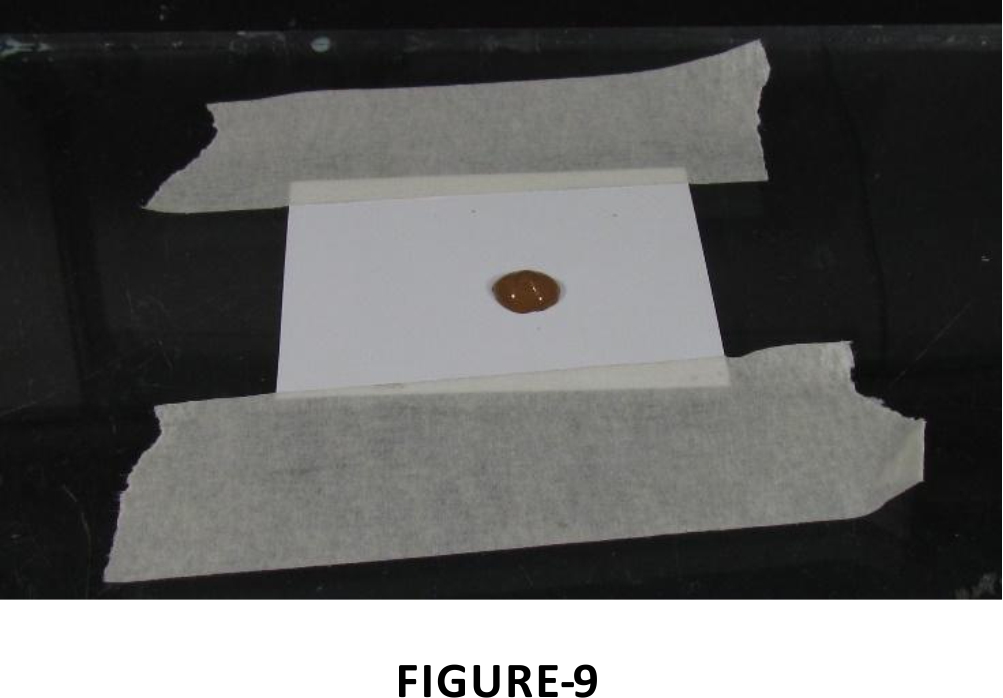
1) Getting a small amount of paint ready for use as seen in FIGURE-9. I tape a small piece of leftover photo paper to the sheet of glass I work on to keep the paint in one place at all times while I’m painting.
2) Dip the brush lightly into the paint, getting just a small amount of it onto the tips of your brush bristles;
3) Use a clean, dry paper towel, to remove the majority of the “wet” paint from the tips of the brush bristles by lightly stroking the tips of the brush along the paper towel;
4) Continue doing this until most of the “wet” paint has been transferred to the paper towel.
This is where the “dabbing” technique differs from traditional dry brushing. Rather than dragging the tips of the brush along the bricks to lightly transfer the paint from your brush to the surface of the model, you lightly dab the tips of the brush downward onto the brick surface. It also helps to rotate the brush slightly between applications to prevent an obvious pattern from developing.
Step 5 – Applying the First Brick Color:
After masking off the front wall, I started dabbing spots of the darkest brick color that I’ll be using first. For this build, the first color is Vallejo “Flat Brown,” number 70.984 from the “Model Color” collection, as seen in FIGURE-10. Since this is the base color; I apply it first with dabbing of the brush lightly onto the surface of the model, followed by a little dry brushing. This first layer leaves a lot of the “mortar” color still showing on the tops of the bricks. Don’t try to completely cover all of the bricks in any one step.

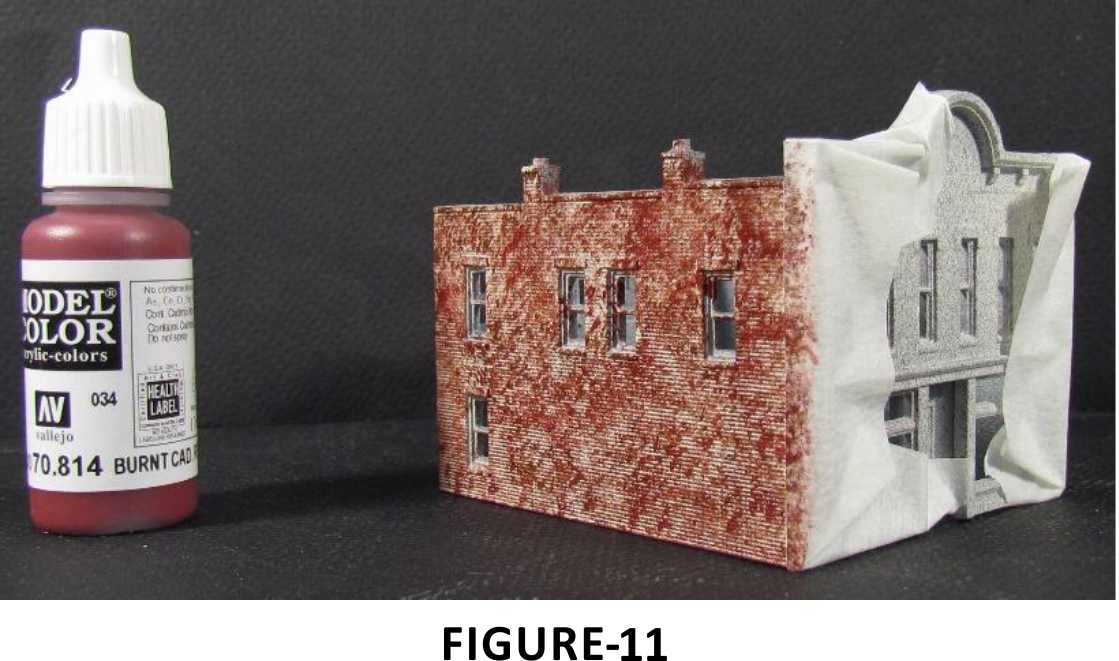
Step 6 – Applying the Second Brick Color:
The second color is Vallejo “Burnt Cad Red,” number 70.814 from the “Model Color” collection, as seen in FIGURE-11. This layer is only dabbed on lightly over the first layer with no dry brushing.
Step 7 – Applying the Third Brick Color:
The third color is Vallejo “Light Rust,” number 301 from the “Panzer Aces” collection, as seen in FIGURE-12. This layer is also only dabbed on lightly over the last layer with no dry brushing.

Step 8 – Applying the Fourth Color - Black:
The fourth color is Vallejo “Black,” number 72.051 from the “Game Color” collection, as seen in FIGURE-13. This layer is typically applied more sparingly than the previous layers. A little of this goes a long way.

Step 9 – Applying the Fifth Color - White:
The fifth, and typically last color, is Vallejo “Dead White,” number 72.001 from the “Game Color” collection, as seen in FIGURE-14. This layer is typically applied more sparingly than the previous layers, often followed by a little dry brushing, depending on how washed-out or light I want the bricks to appear.
Remember, it’s always easier to add more paint than it is to remove some. If you do get a little carried away with one of the layers, try using a Scotch-Brite pad, (typically found in the kitchen or paint section of your local hardware or department store), to lightly remove the excess paint.

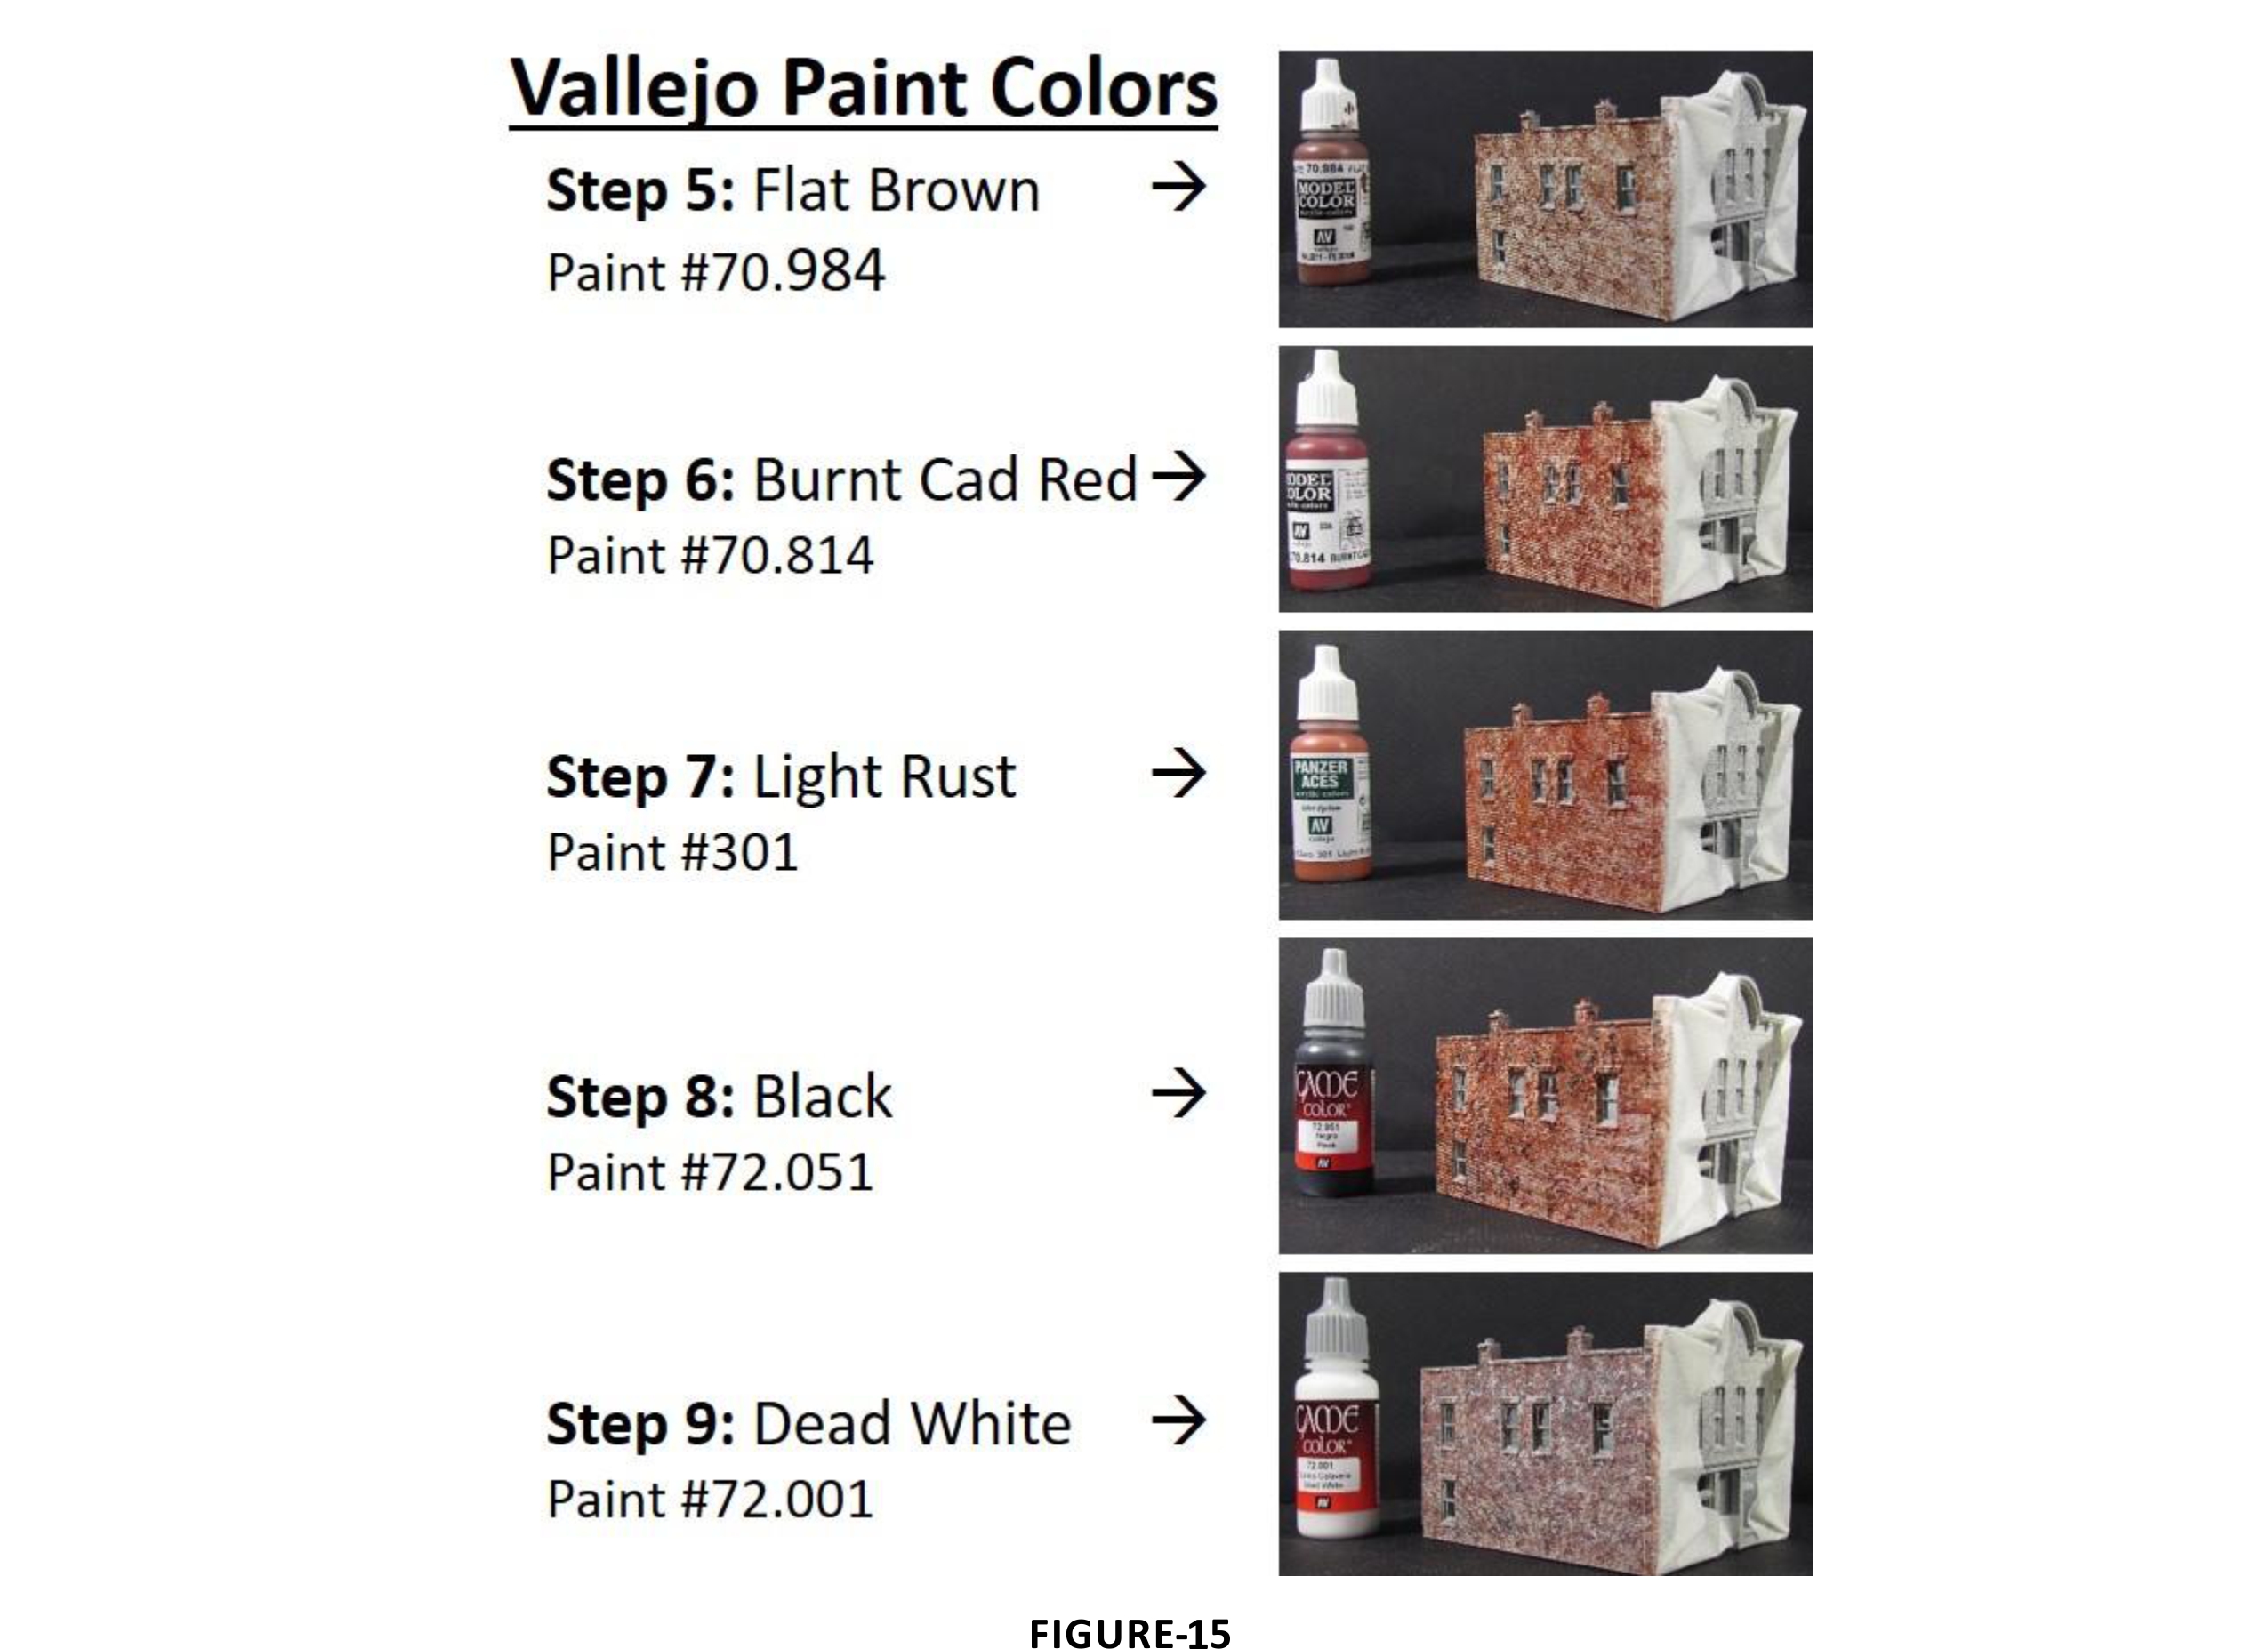
Step 10 – Examining Your Work:
Figure-15 illustrates the progression so far. At this point I’ll look at the overall appearance of the model and touchup any areas that I may have missed or I’m not happy with. This will sometimes include reapplying one or more of the brick colors to get the overall shade of the finished building that I’m looking for.
Step 11 – Sealing Your Work:
Once I’m satisfied with the overall look of the brick patterning, I’ll seal everything with a healthy application of Matte finish. Since I typically do not use my airbrush, I like using KRYLON Matte Finish #1331 in an aerosol spray can for this step. This makes it easier to paint the trim, and allows for easy cleanup if your brush inadvertently wonders onto the brick.
Step 12 – Painting the Trim:
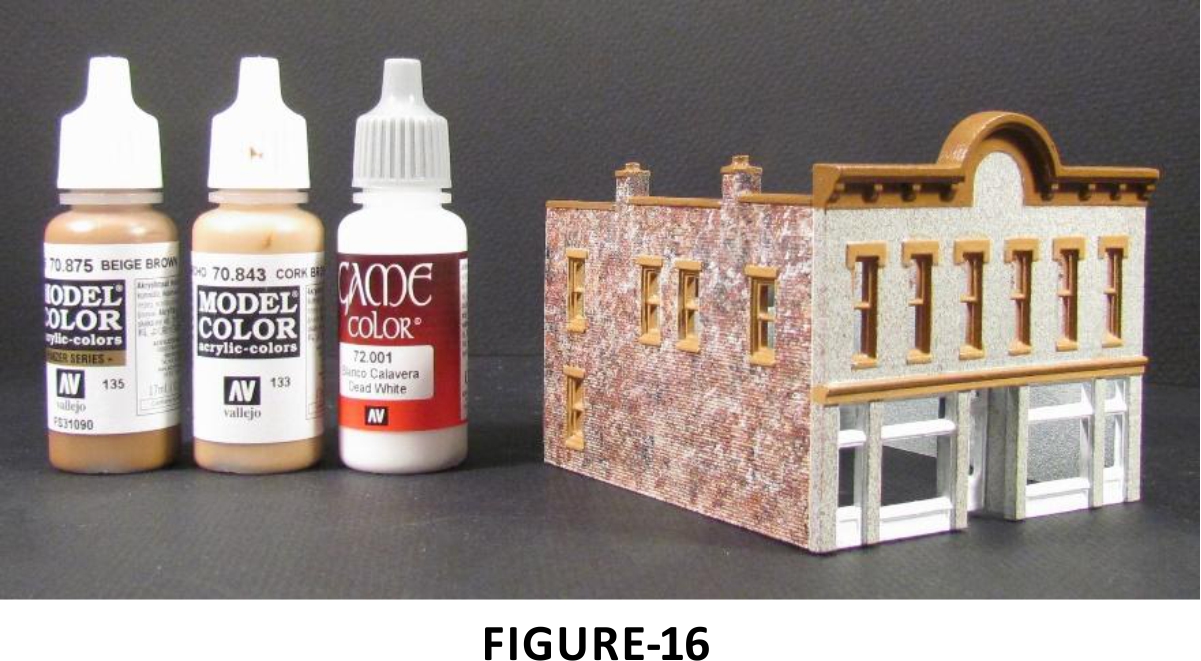
Though this step is not part of painting the brick, it is the last step in the overall painting process…at least until it’s time to add the final weathering. FIGURE-16 illustrates the trim colors I selected for this build that complement the brick colors.
For this step I again used Vallejo’s “Dead White,” number 72.001, from the “Game Color” collection, for the windows and doors on the front of the first floor; Vallejo’s “Cork Brown,” number 70.843 from the “Model Color” collection for the window trim on the front of the second floor and sidewall windows; and Vallejo’s “Beige Brown,” number 70.875 from the “Model Color” collection for the parapet trim.
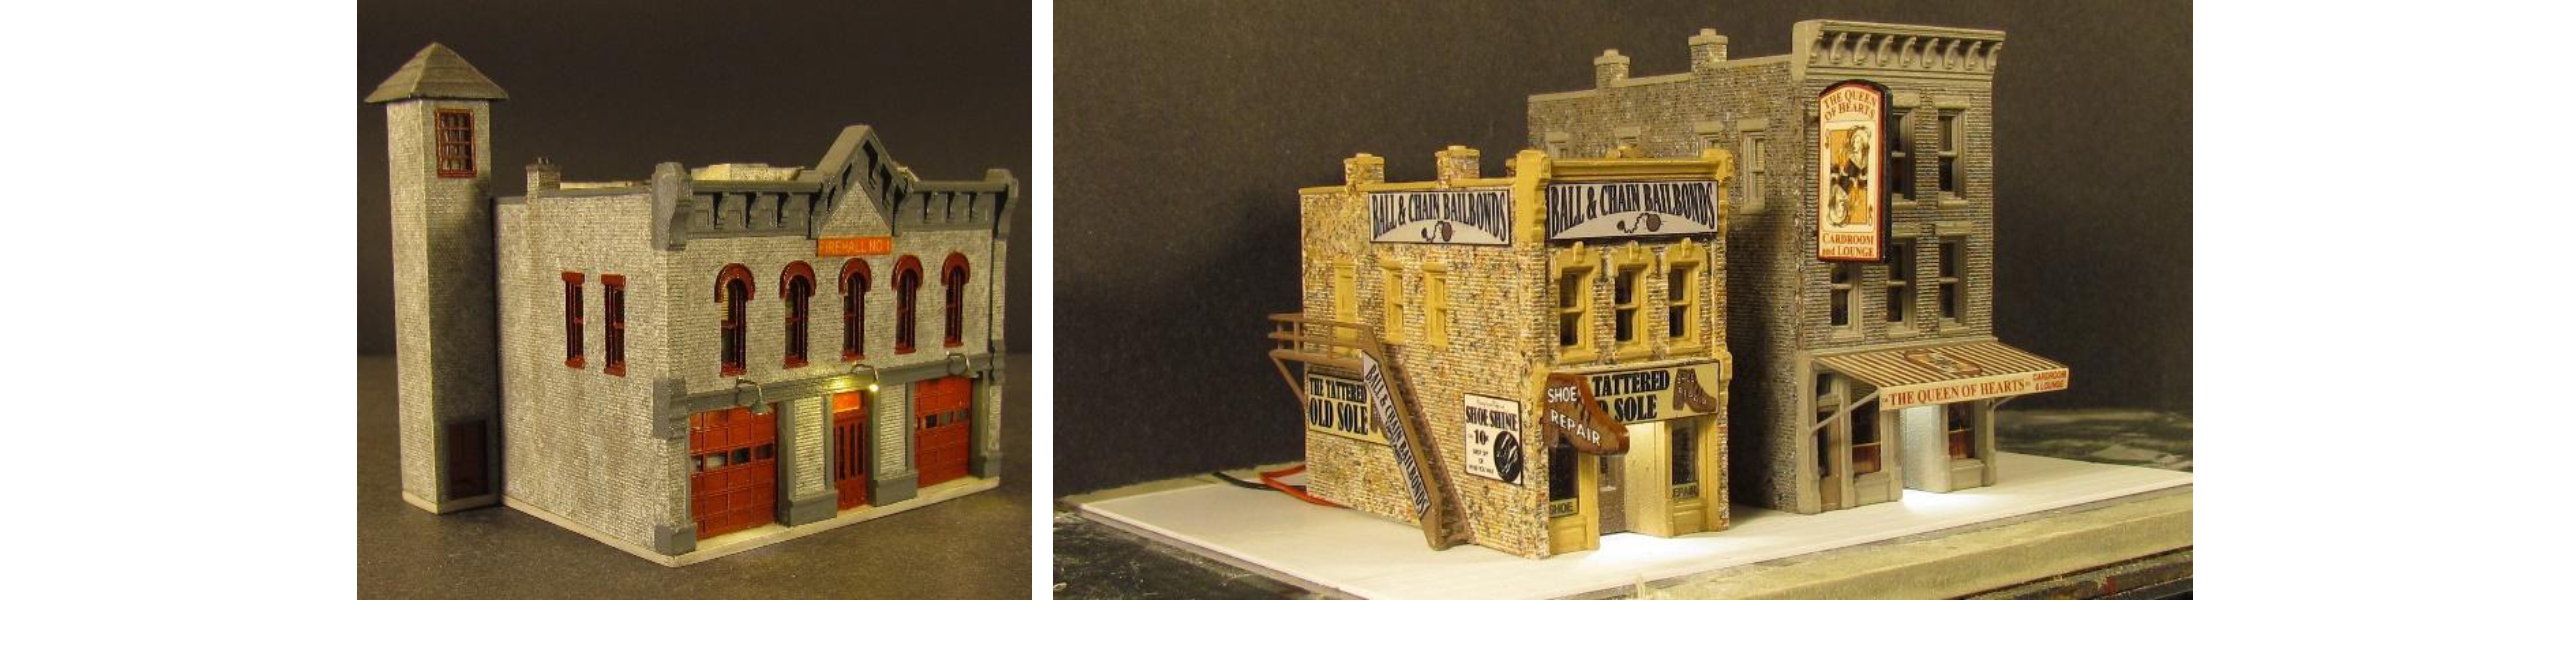
Other Examples:
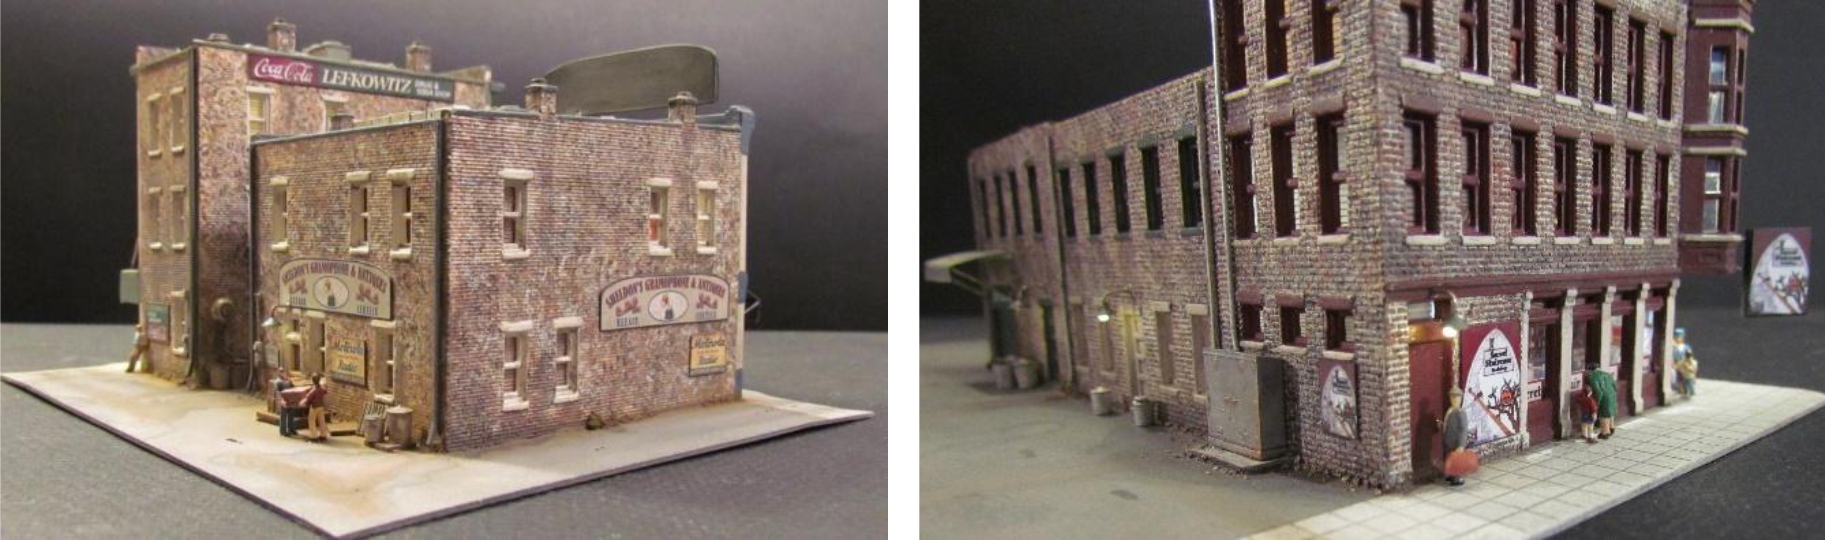
Shown below are a few examples of different colors that can be achieved by mixing some of the brick colors. You can find additional examples of buildings I’ve painted on my FOTKI site: http://public.fotki.com/Raul56Perez/n-scale-buildings-1
This article will also be printed in an upcoming issue of N-Scale magazine.. Please feel free to contact me at raulperez10@comcast.net if you have questions about this or other model building techniques.
